Jump to content

Leaderboard

Popular Content

Showing content with the highest reputation since 02/07/2026 in all areas

  1. Hi Anders, you can change the image used at the start of the compact report by replacing it in your installation files. Open the installation path of PV*Sol 2026 and go to Images there you can find the file TitlePageImage_ShortReport.jpg. Rename the original one, instead of deleting it. You then can use any other image by naming it exactly like the original was named and place it in the same path. Be careful using this workaround, since the size of the image is used "as is" and is not automatically fitted to fit the report. You have to play around with the size a bit, to get a good look or just use the width and height of the original image. Since this workaround is not supported it might break at any time of course.
    1 point
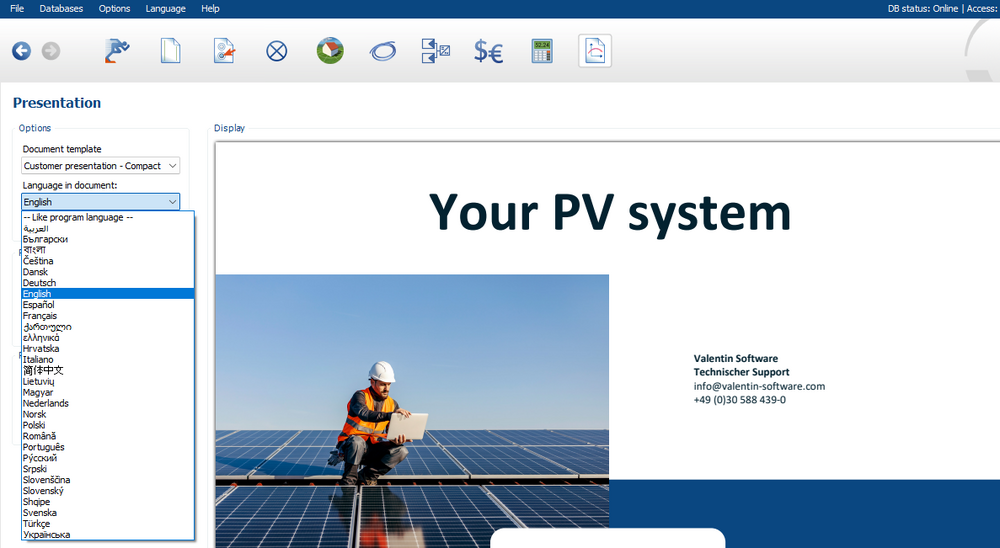
  2. Dear Anders, Thank you for your inquiry. Unfortunately, editing the cover page of the compact presentation is not possible. You can export the compact presentation as docx file and then edit everything to your liking in Word. We will forward your request to our development team. The heading can be changed to "Your PV system" by selecting English as the document language.
    1 point
  3. Dear J. Esteban, Thank you for your inquiry. On the "System Type, Climate, and Grid" page, select the hourly simulation step: In the chart editor, select the "PV Energy (DC)" or "PV Energy (AC)" data series: Select a sunny day and right-click, then choose "Copy" and "Copy Table to Clipboard": Paste the table and chart into Excel:
    1 point
  4. Dear Juan, Thank you for your inquiry. 1. DC Power & Clipping Logic We agree that the nominal DC output should be 100 kW. We will contact the manufacturer and request a correction. The power is clipped when the nominal DC power is exceeded. A warning message is issued when the maximum DC power is exceeded. 2. Defining Max. Power per MPP Tracker The Max. Input Power per MPP Tracker is not found in the datasheet. Some manufacturers divide the total power by the number of MPP trackers, but this leads to error messages if the power is not evenly distributed across the trackers. Therefore, it's plausible that Growatt enters 18.75 kW here (instead of 10 kW or 15 kW). But we don't know exactly how the manufacturer calculates this value. 3. Global DC Data vs. Tracker Data The maximum input current of the inverter is the product of the maximum input current of the MPP tracker and the number of MPP trackers, as in this example: 32 A * 10 = 320 A. However, some manufacturers enter something different. We have noticed that the short-circuit current is incorrectly entered. According to the datasheet, the short-circuit current per MPP tracker is 40 A, so the short-circuit current of the inverter would be 400 A. We will contact the manufacturer and request a correction of both fields. 4. Physical Inputs vs. Trackers We confirm that for an inverter with 10 trackers but 20 physical inputs (strings) the number of DC inputs is 20. There are inverters with an odd number of DC inputs, e.g., 5 DC inputs with 3 MPP trackers. However, this is not the case with this Growatt inverter. Suggestions for the development team We have forwarded your suggestions to better align the electrical parameter designations with those found in most datasheets to our development team.
    1 point
  5. Also der Import von pdf-Plänen wie Grundrissen, Dachaufsichten oder Lageplänen kann in der 3D-Planung lediglich anfangs bei der Auswahl des Belegungsobjektes als Kartenausschnitt nur bei Umwandlung als Bilddatei im Format .jpg, .jpeg, .bmp, oder .png mit max 2048 Pixel erfolgen? Gibt es hierfür Bemühungen, dass der Import zukünftig auch direkt mit pdfs und entsprechender Skalierung funktioniert? Weil dies wirkt wie eine ziemliche Einschränkung je nach Projekt. Außerdem gibt es keine Funktion dafür nachträglich Kartenausschnitte in der Modellbearbeitung einzufügen oder mehrere Pläne zu überlagern? Können sich generell mehrere Kartenausschnitte in einem Projekt befinden, sei es auch durch Löschen, Ersetzen oder Einfügen? Interessant wäre es im Falle eines Neubaus bspw. die Umgebung aus einem Satellitenbild darzustellen und dann bei dem zu planenden Neubau im entsprechenden Abschnitt jeweils Pläne einzufügen und anhand dieser dann das Simulationsgebäude zu modellieren oder womöglich auch Umgebungsgebäude, die sich ebenfalls noch in der Planung befinden und nicht auf Satellitenbilder von Google Satellite o.Ä. abbilden lassen, sondern nur durch weitere Lagepläne zusätzlich zu dem Grundriss des eigentlich zu belegenden Neubaugebäudes. Aber dies ist Stand heute nicht möglich oder? Wenn man schon in diese Richtung geht wäre es auch besonders praktisch, wenn man dies auch über die Google Solar API umsetzen könnte, indem sich die Umgebung bis auf einen zu wählenden Ausschnittes automatisch generieren lässt und dann dort, wo der Neubau erfolgt pdf-Pläne eingefügt werden können, anhand welcher man dann das zu planende Simulationsgebäude plus womöglich neuer entsprechender Umgebung manuell modellieren kann. Dies mal als Frage und Wunschäußerung.
    1 point
  6. Hallo Jens Beermann, vielen Dank für Ihre Anfrage. Das Datenbank-Update mit den neuen Einspeisetarifen ist heute erfolgt.
    1 point
  7. 1. 64/86 Bit Version (da Programm deshalb oft abstürzt) 2. Texturen Größen Konverter intern (Modelle kommen aus DJI_Terra aktuell als .stl da es unfug ist die Texturen separat für .obj zu dezimieren was den Workflow duch komplett weißer Objekte verzögert weil man an einfach nichts sieht. 3. bessere Abstimmung auf Programme wie DJI_Terra und Modify, Meshlab, Metashape etc. wie zum beispeil größere zulässige texturen und modelle Hardware: AMD RYZEN 9 5950X / 64GB-DDR4 3200Mhz / Nvidia Quadro P4000 8GB VRAM optional RTX 3090
    1 point
  8. Dear J. Esteban, Thank you for your inquiry. Unfortunately, this is not possible. We will forward your suggestion to our development department.
    0 points
×
×
  • Create New...